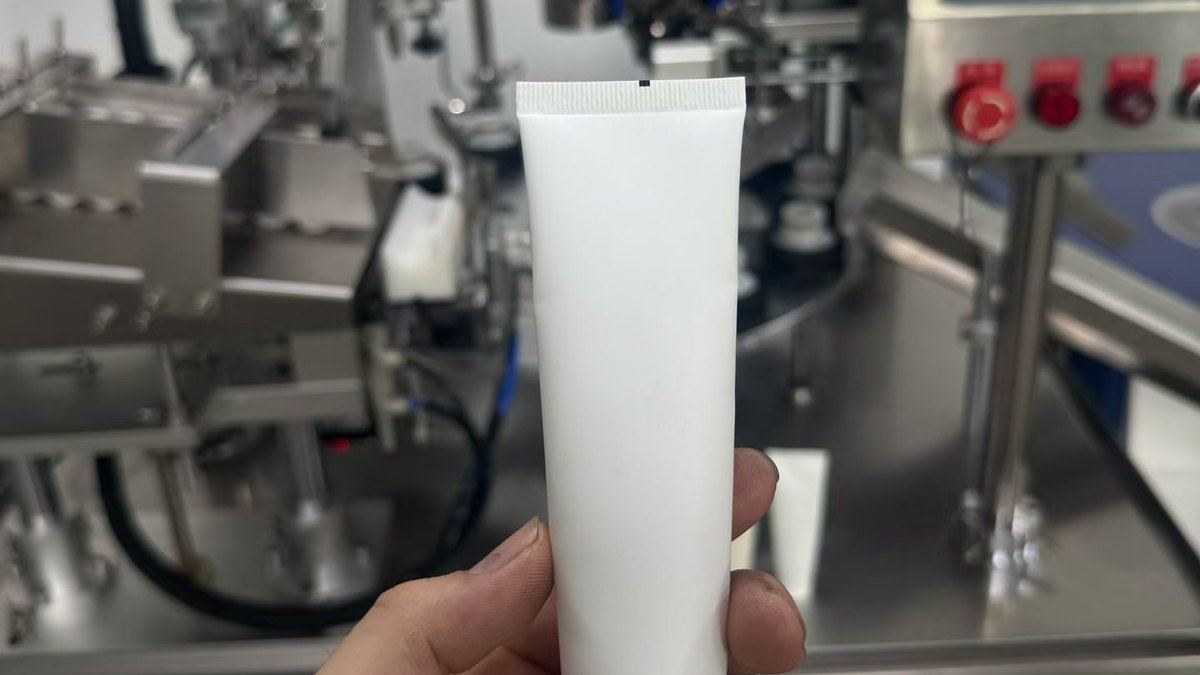
A tube filling machine is only as good as the seal it produces. A weak or incomplete seal means product leaking inside cartons, contamination at the fold, and customer complaints — all of which cost far more than the machine itself. This guide explains how tube seals are formed, how to inspect them on the line, and the simple leak and strength tests you can run to keep seal quality consistent.
How a Tube Seal Is Formed
The sealing method depends on the tube material:
- Plastic and laminated tubes are sealed with heat — jaws press and fuse the tube end at a controlled temperature and dwell time.
- Aluminium tubes cannot be heat-welded; they are folded. The tube end is folded over several times (typically double or triple fold) and crimped, which is why aluminium filling machines are built around a folding mechanism rather than a heated jaw. This is a key point many first-time buyers miss when they assume all tubes seal the same way.
- Ultrasonic sealing uses high-frequency vibration to bond the tube material without an open flame or heavy heat — producing a clean, consistent seal and working well for tubes with residual product in the seal zone.
The Three Checks to Run on the Line
1. Visual Inspection of the Fold / Weld
The seal should be even, symmetrical, and complete across the full width of the tube end. Look for: uneven fold lines on aluminium tubes, discoloration or burning on heat-sealed tubes, and any pinhole or gap at the edges. A seal that looks thin at the corners is the one most likely to leak.
2. Squeeze / Leak Test
This is the simplest and most useful test. Fill the tube, seal it, then apply firm, controlled pressure to the tube body — either by hand squeezing or with a small pneumatic test rig. A good seal holds with no product or air escaping from the crimp. Run this on a sample from every batch, not just at startup.
3. Seal Strength / Peel Test (Destructive)
For a more objective measure, cut a strip across the seal and pull it apart with a simple force gauge. This tells you whether the bond is genuinely fused or just pressed together. It is more common in pharmaceutical QC, but worth doing periodically even for cosmetics to catch a slowly drifting temperature controller or a worn jaw.
Common Seal Defects and What Causes Them
- Leaking at one edge — jaw misalignment, uneven pressure, or a worn jaw face.
- Burnt / brittle seal — sealing temperature too high or dwell time too long.
- Weak or open seal — temperature too low, dwell too short, or insufficient jaw pressure.
- Product in the seal zone — overfilling, or fill level set too high for the tube size; the machine should be set to leave a clean seal zone.
Building Inspection into Your SOP
The most reliable plants make seal inspection a documented, repeated step, not an afterthought: check seals at line startup, after any product or tube-size changeover, and at regular intervals through the shift. Log the temperature, dwell, and pressure settings so you can spot drift before it becomes a quality issue.
What a seal actually has to survive
A seal that holds on the bench is not a seal that holds in a carton. Before you pick a test, write down what the tube will be subjected to: the squeeze of a tube being used, the drop from a pallet, the pressure change in an air-freighted consignment, the eighteen months on a warm shelf. Each one loads the tail differently, and a test that does not reproduce the load tells you nothing.
- Handling and use: repeated squeezing and rolling from the tail end. This is where a weld with a thin edge fails first.
- Transit: drop and vibration. A seal that is strong but brittle cracks; a seal that is ductile dents and holds.
- Pressure: air freight and altitude change push product against the tail from inside.
- Time and temperature: some products attack the sealant layer slowly. A 24-hour leak test finds what a five-minute test misses.
The test methods, and which question each one answers
Buyers often ask for “a leak test” when what they need is a strength test, or the other way round. The three methods answer three different questions:
- Squeeze test (go/no-go): squeeze the tube until the tail bulges, hold, watch for product weeping at the seal edge. Fast, needs no equipment, catches the gross failures. It does not measure strength, and it will not catch a channel that only opens under vacuum.
- Dye penetration: immerse the tail in a dye solution — methylene blue is the usual choice — sometimes under vacuum, and look for dye drawn into the seal. This finds the channel defects that a squeeze test misses, which is exactly what you want on a new tube or a new jaw setting.
- Peel strength (destructive): cut the tail open and pull the two layers apart at a controlled rate, recording force per unit width. This is the test that gives you a number to compare against a specification, and the method used across flexible packaging is ASTM F88. Ask your tube supplier what target they specify for your laminate — the number belongs to the tube, not to the machine.
Run all three on a new setup: squeeze every fifteen minutes on the line, dye-penetration on the first tubes of each batch, peel strength once per batch or whenever the jaw or the tube lot changes.
Sampling, retained samples and the audit trail
A visual check with no sampling plan is a habit, not a control. Decide the sample size and the accept number before the batch starts — the AQL tables in ISO 2859-1 exist precisely so that two people checking the same batch reach the same conclusion. For most cosmetic lines a tightened visual check plus a periodic destructive test is enough; for pharmaceutical work the sampling plan usually comes from the customer’s quality agreement.
Keep three things per batch: the machine parameters (temperature, weld time, pressure), a photograph of a good seal and a bad one side by side, and a retained sample tube stored with the batch record. When a complaint arrives six months later, those three turn an argument into a measurement.
When a seal fails, whose problem is it
Three parties can own a seal failure, and the evidence usually says which. Product on the inside of the tail means the fill station pushed product into the seal area — a filling problem. A seal that is intact but weak across the whole tail means parameters or jaw condition — a machine problem. A seal that is strong in the middle and channels at the edges, on a tube that has been fine for months, is usually a tube lot change — a supplier problem.
Diagnosing which process your tube needs in the first place is covered in ultrasonic vs heat sealing, and the parameter side in how to specify a tube sealing machine. If the tail is being closed by folding rather than welding, the checks differ — see aluminium tube folding.
Two of the questions we are asked most on the phone — why an ultrasonic seal holds on one tube and fails on the next, and whether aluminium tubes can be welded ultrasonically at all — are answered in the buyer FAQ.
Related guides: Tube sealing machine troubleshooting · Ultrasonic vs heat sealing · Aluminium tube folding · The complete guide
Seal quality starts with the right machine
Tell us your tube material and size — we’ll recommend the sealing method that holds up under test.